In this tutorial, we’ll walk through how to build a CRUD (Create, Read, Update, Delete) application in Laravel 12 with image upload functionality. CRUD operations are fundamental in web development, allowing users to interact with a database seamlessly.
We’ll create a Product Management System where users can:
- Add new products with images
- View product details
- Edit existing products
- Delete products
We’ll use Bootstrap 5 for styling and store uploaded images in the public/images folder.
Let’s get started!
Steps to Build Laravel 12 CRUD with Image Upload
- Install Laravel 12
- Configure MySQL Database
- Create Migration for Products Table
- Generate Controller & Model
- Set Up Resource Routes
- Create Blade Views
- Run the Application
Step 1: Install Laravel 12
First, let’s create a fresh Laravel project:
composer create-project laravel/laravel laravel-crud-image-upload
cd laravel-crud-image-upload
Step 2: MySQL Database Configuration
By default, Laravel uses SQLite. To switch to MySQL, update the .env file:
DB_CONNECTION=mysql
DB_HOST=127.0.0.1
DB_PORT=3306
DB_DATABASE=your_database_name
DB_USERNAME=your_username
DB_PASSWORD=your_password
Step 3: Create Migration for Products Table
We’ll create a products table with name, detail, and image fields.
Run the migration command:
php artisan make:migration create_products_table --create=productsOpen the generated migration file (database/migrations/xxxx_create_products_table.php) and define the schema:
<?php

use Illuminate\Database\Migrations\Migration;
use Illuminate\Database\Schema\Blueprint;
use Illuminate\Support\Facades\Schema;

return new class extends Migration
{
    public function up(): void
    {
        Schema::create('products', function (Blueprint $table) {
            $table->id();
            $table->string('name');
            $table->text('detail');
            $table->string('image');
            $table->timestamps();
        });
    }

    public function down(): void
    {
        Schema::dropIfExists('products');
    }
};
Run the migration:
php artisan migrateStep 4: Generate Controller & Model
Create a Product model and a resource controller with CRUD methods:
php artisan make:controller ProductController --resource --model=ProductUpdate the Product Model (app/Models/Product.php)
<?php

namespace App\Models;

use Illuminate\Database\Eloquent\Factories\HasFactory;
use Illuminate\Database\Eloquent\Model;

class Product extends Model
{
    use HasFactory;

    protected $fillable = ['name', 'detail', 'image'];
}
Update the Controller (app/Http/Controllers/ProductController.php)
This controller handles:
- Storing uploaded images in public/images
- Validating requests
- CRUD operations
<?php

namespace App\Http\Controllers;

use App\Models\Product;
use Illuminate\Http\RedirectResponse;
use Illuminate\Http\Request;
use Illuminate\View\View;

class ProductController extends Controller
{
    public function index(): View
    {
        $products = Product::latest()->paginate(5);
        return view('products.index', compact('products'));
    }

    public function create(): View
    {
        return view('products.create');
    }

    public function store(Request $request): RedirectResponse
    {
        $request->validate([
            'name' => 'required',
            'detail' => 'required',
            'image' => 'required|image|mimes:jpeg,png,jpg,gif,svg|max:2048',
        ]);

        $input = $request->all();

        if ($image = $request->file('image')) {
            $destinationPath = 'images/';
            $profileImage = date('YmdHis') . "." . $image->getClientOriginalExtension();
            $image->move($destinationPath, $profileImage);
            $input['image'] = "$profileImage";
        }

        Product::create($input);

        return redirect()->route('products.index')
                         ->with('success', 'Product created successfully.');
    }

    public function show(Product $product): View
    {
        return view('products.show', compact('product'));
    }

    public function edit(Product $product): View
    {
        return view('products.edit', compact('product'));
    }

    public function update(Request $request, Product $product): RedirectResponse
    {
        $request->validate([
            'name' => 'required',
            'detail' => 'required'
        ]);

        $input = $request->all();

        if ($image = $request->file('image')) {
            $destinationPath = 'images/';
            $profileImage = date('YmdHis') . "." . $image->getClientOriginalExtension();
            $image->move($destinationPath, $profileImage);
            $input['image'] = "$profileImage";
        } else {
            unset($input['image']);
        }

        $product->update($input);

        return redirect()->route('products.index')
                         ->with('success', 'Product updated successfully');
    }

    public function destroy(Product $product): RedirectResponse
    {
        $product->delete();
        return redirect()->route('products.index')
                         ->with('success', 'Product deleted successfully');
    }
}
Step 5: Add Resource Route
Define routes in routes/web.php:
<?php

use Illuminate\Support\Facades\Route;
use App\Http\Controllers\ProductController;

Route::resource('products', ProductController::class);
Step 6: Create Blade Views
We’ll use Bootstrap 5 for styling.
1. Layout File (resources/views/products/layout.blade.php)
<!DOCTYPE html>
<html>
<head>
<title>Laravel 12 CRUD with Image Upload</title>
<link href="https://cdn.jsdelivr.net/npm/bootstrap@5.3.2/dist/css/bootstrap.min.css" rel="stylesheet">
<link rel="stylesheet" href="https://cdnjs.cloudflare.com/ajax/libs/font-awesome/6.5.1/css/all.min.css" />
</head>
<body>
<div class="container mt-5">
@yield('content')
</div>
</body>
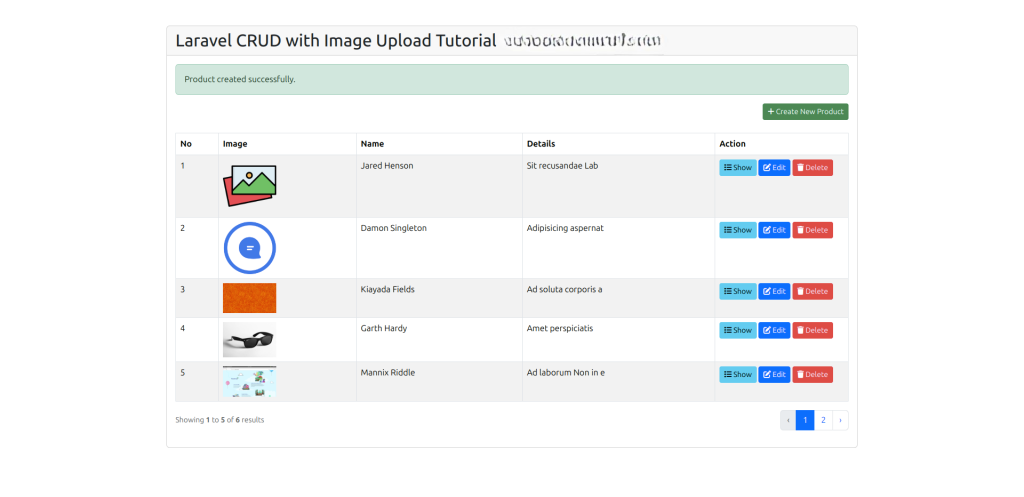
</html>2. Index Page (resources/views/products/index.blade.php)
Displays all products in a table.
@extends('products.layout')

@section('content')
<div class="card">
  <h2 class="card-header">Product List</h2>
  <div class="card-body">

        @if (session('success'))
            <div class="alert alert-success">{{ session('success') }}</div>
        @endif

        <div class="d-grid gap-2 d-md-flex justify-content-md-end">
            <a class="btn btn-success btn-sm" href="{{ route('products.create') }}">
                <i class="fa fa-plus"></i> Add New Product
            </a>
        </div>

        <table class="table table-bordered table-striped mt-4">
            <thead>
                <tr>
                    <th>No</th>
                    <th>Image</th>
                    <th>Name</th>
                    <th>Details</th>
                    <th>Actions</th>
                </tr>
            </thead>

            <tbody>
                @forelse ($products as $product)
                <tr>
                    <td>{{ $loop->iteration }}</td>
                    <td><img src="/images/{{ $product->image }}" width="100px"></td>
                    <td>{{ $product->name }}</td>
                    <td>{{ $product->detail }}</td>
                    <td>
                        <form action="{{ route('products.destroy', $product->id) }}" method="POST">
                            <a class="btn btn-info btn-sm" href="{{ route('products.show', $product->id) }}">
                                <i class="fa-solid fa-eye"></i> Show
                            </a>
                            <a class="btn btn-primary btn-sm" href="{{ route('products.edit', $product->id) }}">
                                <i class="fa-solid fa-pen-to-square"></i> Edit
                            </a>
                            @csrf
                            @method('DELETE')
                            <button type="submit" class="btn btn-danger btn-sm">
                                <i class="fa-solid fa-trash"></i> Delete
                            </button>
                        </form>
                    </td>
                </tr>
                @empty
                <tr>
                    <td colspan="5">No products found.</td>
                </tr>
                @endforelse
            </tbody>
        </table>
        {{ $products->links() }}
  </div>
</div>
@endsection
3. Create & Edit Forms
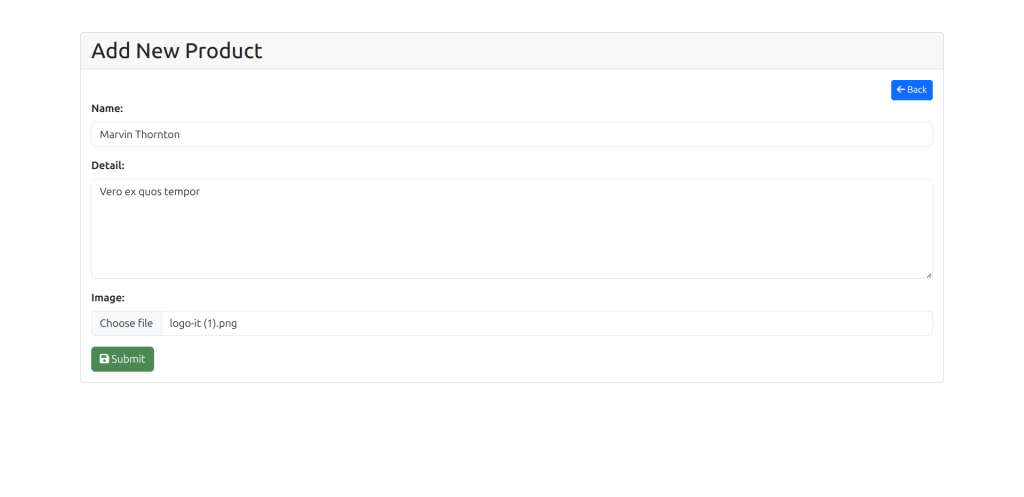
- Create Form (resources/views/products/create.blade.php)
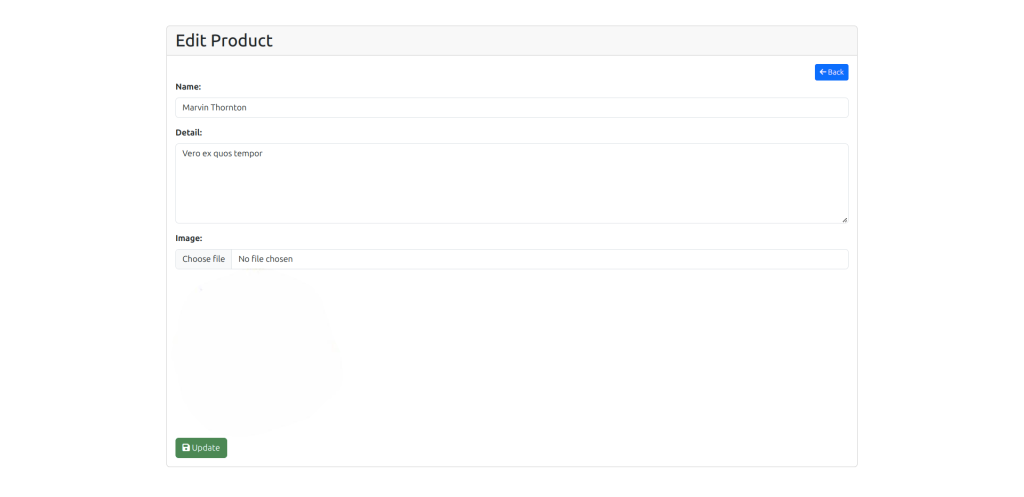
- Edit Form (resources/views/products/edit.blade.php)
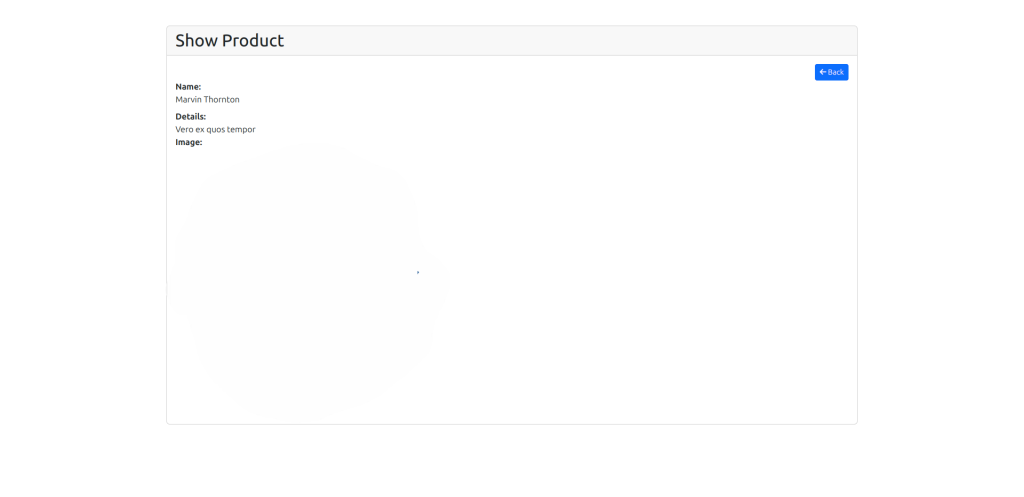
- Show Page (resources/views/products/show.blade.php)
(Refer to the original content for full code—these follow a similar structure.)
Step 7: Run the Application
Start the Laravel development server:
php artisan serveVisit:
🔗 http://localhost:8000/products