Laravel’s notification system is a powerful feature that enables developers to send alerts to users through multiple channels including email, SMS, Slack, and more. In this tutorial, we’ll explore how to implement email notifications by creating a birthday wish notification system.
Understanding Laravel Notifications
Laravel notifications are implemented through specialized classes that extend the Illuminate\Notifications\Notification base class. These notification classes allow you to:
- Define notification content and format
- Specify delivery channels (email, database, broadcast, etc.)
- Customize presentation for each channel
- Leverage built-in channels or create custom ones
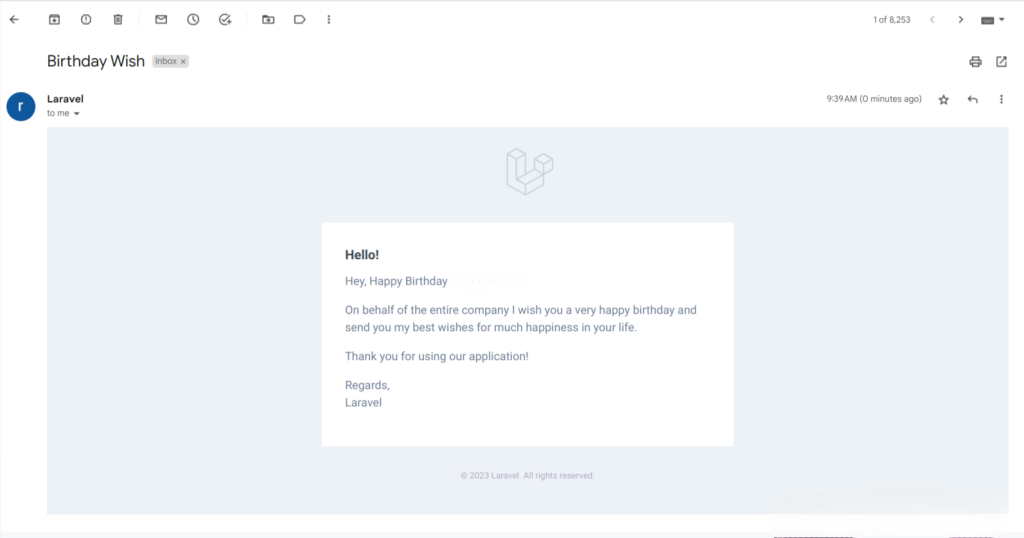
For our example, we’ll create a BirthdayWish notification that automatically sends celebratory emails to users on their birthdays.
Implementation Steps
1. Setting Up the Laravel 12 Application
If you haven’t already created a Laravel project, run:
composer create-project laravel/laravel example-app2. Database Migration: Adding Birthdate Field
We need to add a birthdate column to the users table:
php artisan make:migration add_birthdate_column_to_users_tableEdit the migration file (database/migrations/[timestamp]_add_birthdate_column_to_users_table.php):
<?php

use Illuminate\Database\Migrations\Migration;
use Illuminate\Database\Schema\Blueprint;
use Illuminate\Support\Facades\Schema;

return new class extends Migration
{
    public function up()
    {
        Schema::table('users', function (Blueprint $table) {
            $table->date('birthdate')->nullable()->after('email');
        });
    }

    public function down()
    {
        Schema::table('users', function (Blueprint $table) {
            $table->dropColumn('birthdate');
        });
    }
};
Run the migration:
php artisan migrate3. Updating the User Model
Update app/Models/User.php to include:
<?php

namespace App\Models;

use Illuminate\Database\Eloquent\Factories\HasFactory;
use Illuminate\Foundation\Auth\User as Authenticatable;
use Illuminate\Notifications\Notifiable;

class User extends Authenticatable
{
    use HasFactory, Notifiable;

    protected $fillable = [
        'name',
        'email',
        'password',
        'birthdate'
    ];

    protected $hidden = [
        'password',
        'remember_token',
    ];

    protected function casts(): array
    {
        return [
            'email_verified_at' => 'datetime',
            'password' => 'hashed',
        ];
    }
}
4. Creating the Birthday Notification
Generate the notification class:
php artisan make:notification BirthdayWishEdit app/Notifications/BirthdayWish.php:
<?php

namespace App\Notifications;

use Illuminate\Bus\Queueable;
use Illuminate\Contracts\Queue\ShouldQueue;
use Illuminate\Notifications\Messages\MailMessage;
use Illuminate\Notifications\Notification;

class BirthdayWish extends Notification
{
    use Queueable;

    protected $messages;

    public function __construct($messages)
    {
        $this->messages = $messages;
    }

    public function via(object $notifiable): array
    {
        return ['mail'];
    }

    public function toMail(object $notifiable): MailMessage
    {
        return (new MailMessage)
                    ->subject('Happy Birthday!')
                    ->greeting('Dear ' . $notifiable->name)
                    ->line($this->messages['hi'])
                    ->line($this->messages['wish'])
                    ->action('View Your Account', url('/'))
                    ->line('Thank you for using our application!');
    }

    public function toArray(object $notifiable): array
    {
        return [];
    }
}
5. Configuring Email Settings
Update your .env file with email configuration:
MAIL_MAILER=smtp
MAIL_HOST=smtp.gmail.com
MAIL_PORT=587
MAIL_USERNAME=your@gmail.com
MAIL_PASSWORD=your_app_password
MAIL_ENCRYPTION=tls
MAIL_FROM_ADDRESS=your@gmail.com
MAIL_FROM_NAME="${APP_NAME}"
6. Setting Up Routes
Add the notification route in routes/web.php:
<?php

use Illuminate\Support\Facades\Route;
use App\Http\Controllers\UserController;

Route::get('user-notify', [UserController::class, 'sendBirthdayNotification']);
7. Creating the Controller
Generate and edit app/Http/Controllers/UserController.php:
<?php

namespace App\Http\Controllers;

use Illuminate\Http\Request;
use App\Models\User;
use App\Notifications\BirthdayWish;

class UserController extends Controller
{
    public function sendBirthdayNotification(Request $request)
    {
        $user = User::find(1); // For demo, we're using user with ID 1

        $messages = [
            "hi" => "Hey, Happy Birthday {$user->name}!",
            "wish" => "On behalf of the entire company, we wish you a wonderful birthday and a fantastic year ahead."
        ];

        $user->notify(new BirthdayWish($messages));

        return response()->json(['message' => 'Birthday notification sent successfully!']);
    }
}
8. Running the Application
Start the development server:
php artisan serveVisit http://localhost:8000/user-notify in your browser to trigger the notification.