In this tutorial, we’ll walk through how to implement image upload functionality in CKEditor within a Laravel 12 application.
What is CKEditor?
CKEditor is a powerful, open-source WYSIWYG (What You See Is What You Get) editor that allows users to create and format rich text content directly in a web browser. It supports features like text styling, media embedding, and HTML editing—without requiring coding knowledge.
Since its release in 2003, CKEditor has become a popular choice for developers due to its flexibility, ease of integration, and extensive customization options.
How to Implement Image Upload in CKEditor with Laravel 12
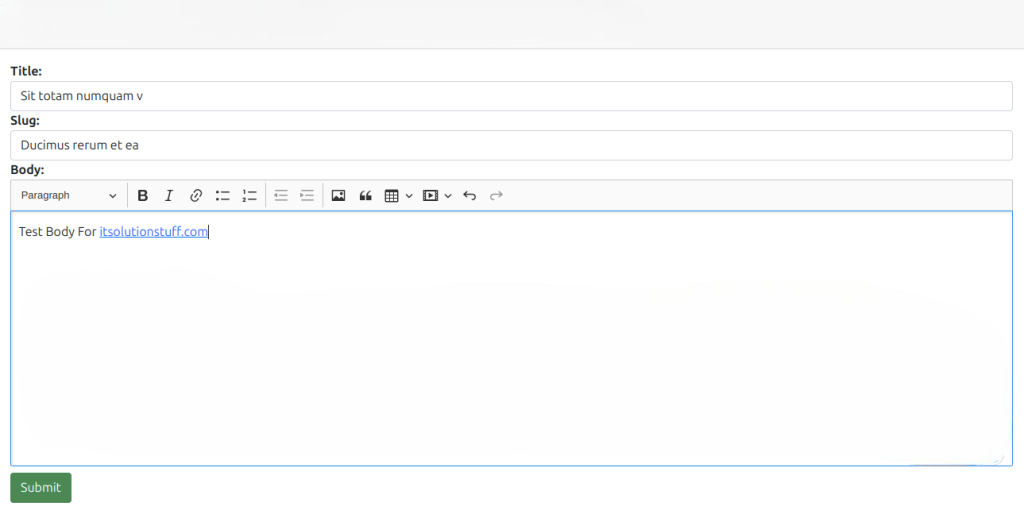
We’ll create a simple Laravel application where users can:
- Write content using CKEditor.
- Upload images directly into the editor.
- Store uploaded images in the /public/media directory.
Step-by-Step Implementation
Step 1: Install Laravel 12
First, create a new Laravel project:
composer create-project laravel/laravel example-appStep 2: Set Up Routes
Add the following routes in routes/web.php:
<?php

use Illuminate\Support\Facades\Route;
use App\Http\Controllers\CkeditorController;

Route::get('ckeditor', [CkeditorController::class, 'index']);
Route::post('ckeditor/upload', [CkeditorController::class, 'upload'])->name('ckeditor.upload');
Step 3: Create a Controller
Generate a controller to handle CKEditor image uploads:
php artisan make:controller CkeditorControllerUpdate app/Http/Controllers/CkeditorController.php:
<?php

namespace App\Http\Controllers;

use Illuminate\Http\Request;
use Illuminate\View\View;
use Illuminate\Http\JsonResponse;

class CkeditorController extends Controller
{
    /**
     * Display the CKEditor form.
     */
    public function index(): View
    {
        return view('ckeditor');
    }

    /**
     * Handle image upload from CKEditor.
     */
    public function upload(Request $request): JsonResponse
    {
        if ($request->hasFile('upload')) {
            $originName = $request->file('upload')->getClientOriginalName();
            $fileName = pathinfo($originName, PATHINFO_FILENAME);
            $extension = $request->file('upload')->getClientOriginalExtension();
            $fileName = $fileName . '_' . time() . '.' . $extension;

            $request->file('upload')->move(public_path('media'), $fileName);

            $url = asset('media/' . $fileName);

            return response()->json([
                'fileName' => $fileName,
                'uploaded' => 1,
                'url' => $url
            ]);
        }
    }
}
Step 4: Create a Blade View
Create a new file resources/views/ckeditor.blade.php:
<!DOCTYPE html>
<html>
<head>
    <title>Laravel 12 CKEditor Image Upload</title>
    <link href="https://cdn.jsdelivr.net/npm/bootstrap@5.0.2/dist/css/bootstrap.min.css" rel="stylesheet">
    <style>
        .ck-editor__editable_inline {
            min-height: 300px;
        }
    </style>
</head>
<body>
    <div class="container">
        <div class="card mt-5">
            <h3 class="card-header p-3">CKEditor Image Upload in Laravel 12</h3>
            <div class="card-body">
                <form>
                    <div class="form-group mb-3">
                        <label class="form-label"><strong>Title:</strong></label>
                        <input type="text" name="title" class="form-control" placeholder="Enter title">
                    </div>

                    <div class="form-group mb-3">
                        <label class="form-label"><strong>Body:</strong></label>
                        <textarea name="editor" id="editor"></textarea>
                    </div>

                    <div class="form-group">
                        <button class="btn btn-success" type="submit">Submit</button>
                    </div>
                </form>
            </div>
        </div>
    </div>

    <script src="https://cdn.ckeditor.com/ckeditor5/34.2.0/classic/ckeditor.js"></script>
    <script>
        ClassicEditor
            .create(document.querySelector('#editor'), {
                ckfinder: {
                    uploadUrl: '{{ route('ckeditor.upload') }}?_token={{ csrf_token() }}',
                }
            })
            .catch(error => {
                console.error(error);
            });
    </script>
</body>
</html>
Step 5: Run the Application
Start the Laravel development server:
php artisan serveVisit the application in your browser:
http://localhost:8000/ckeditor