This guide provides step-by-step instructions for setting up a new .NET project in Visual Studio Code (VS Code). You’ll learn how to initialize a project, select a template, and execute your first program.
Steps to Create a .NET Project
1. Open the Command Palette
- Windows: Press Ctrl + Shift + P
- Mac: Press Cmd + Shift + P
2. Start a New .NET Project
- In the Command Palette, type “.NET: New Project” and select the option.
3. Select a Project Template
- Choose a template (e.g., Console Application or Web Application).
- For beginners, a Console Application is recommended.
4. Choose a Project Location
- Navigate to the desired folder and click “Select Folder” to save your project.
5. Name Your Project
- Enter a project name—this will create a new folder with your specified name.
6. Trust the Project Files
- When prompted, click “Trust the authors” to enable VS Code to access the files.
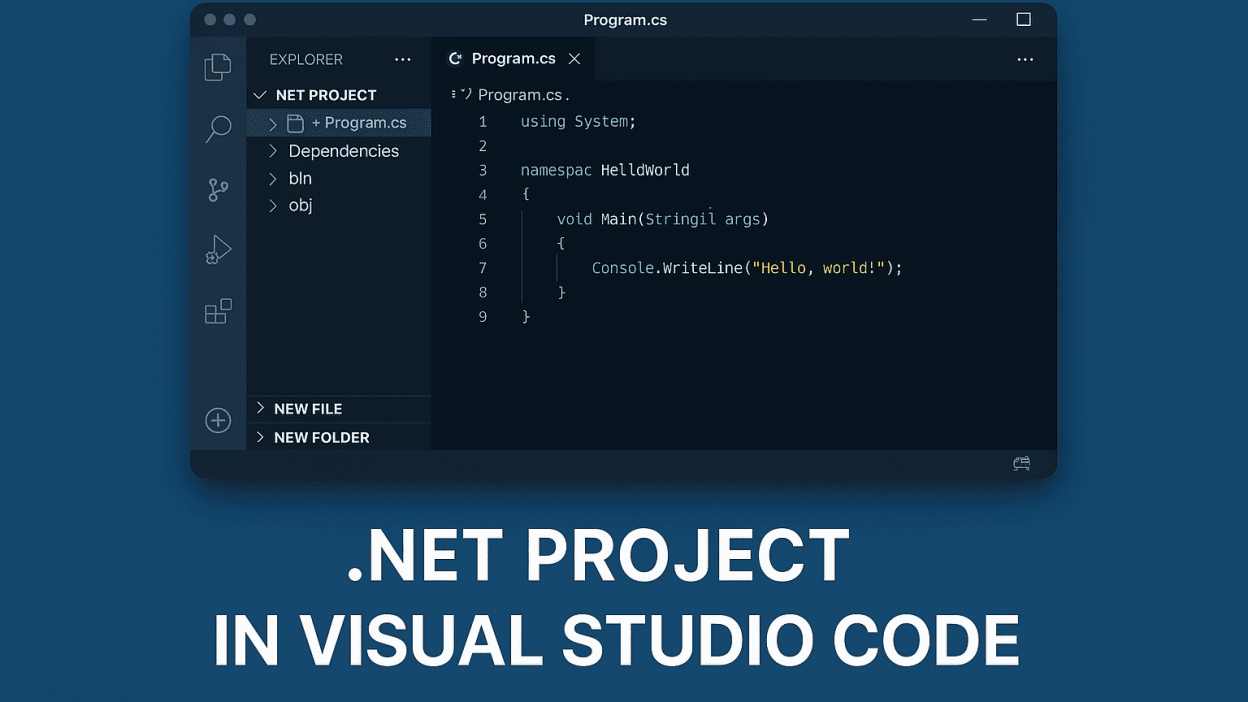
7. Explore Project Files
- Open the Explorer panel to view generated files (e.g., Program.cs).
8. Run Your Project
- Open the Terminal (Ctrl + \“ or Cmd + “).
- Type dotnet run and press Enter.
- You should see “Hello, World!” printed in the terminal.
Conclusion
You’ve now successfully created, configured, and executed a .NET project in VS Code. This basic workflow serves as a foundation for building more advanced applications. Happy coding!