SQL Server Management Studio (SSMS) is a powerful tool for managing SQL Server instances and querying databases. Follow the steps below to install SSMS and connect to your SQL Server.
Step 1: Download SQL Server Management Studio
- Visit the official Microsoft SSMS download page.
- Click the download link to retrieve the installation file.
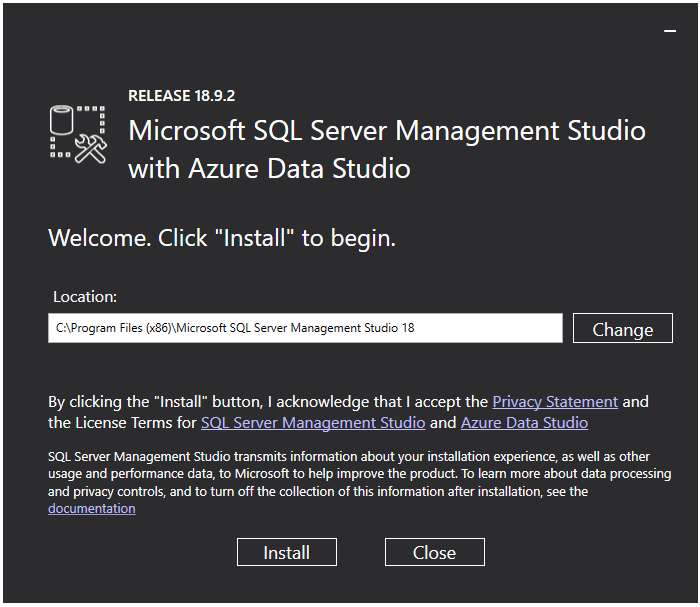
Step 2: Run the SSMS Installer
- Locate the downloaded file (e.g.,
SSMS-Setup-ENU.exe) and double-click to launch it.
- The installation wizard will open. Click Install to begin.
Step 3: Wait for Installation to Complete
- The setup will install SSMS—this may take a few minutes.
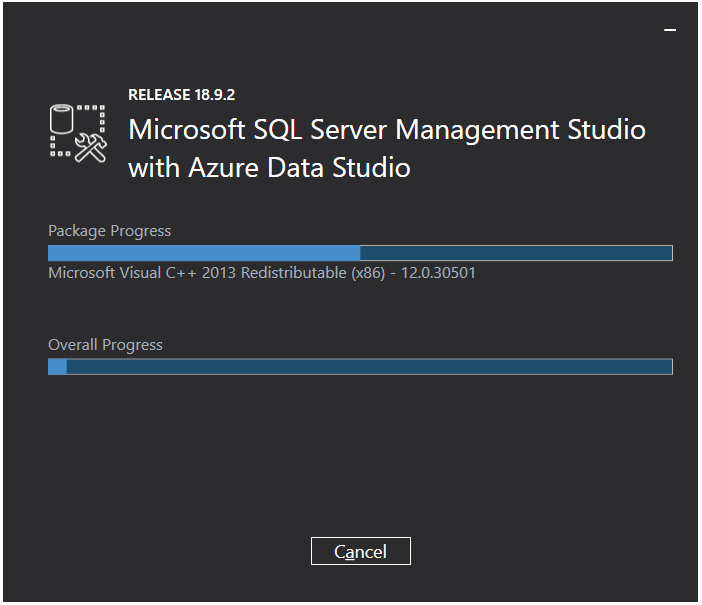
- Once finished, close the installer.
Step 4: Launch SQL Server Management Studio
- Open the Start Menu and search for SQL Server Management Studio.
- Click the application to launch it.
Step 5: Connect to Your SQL Server Instance
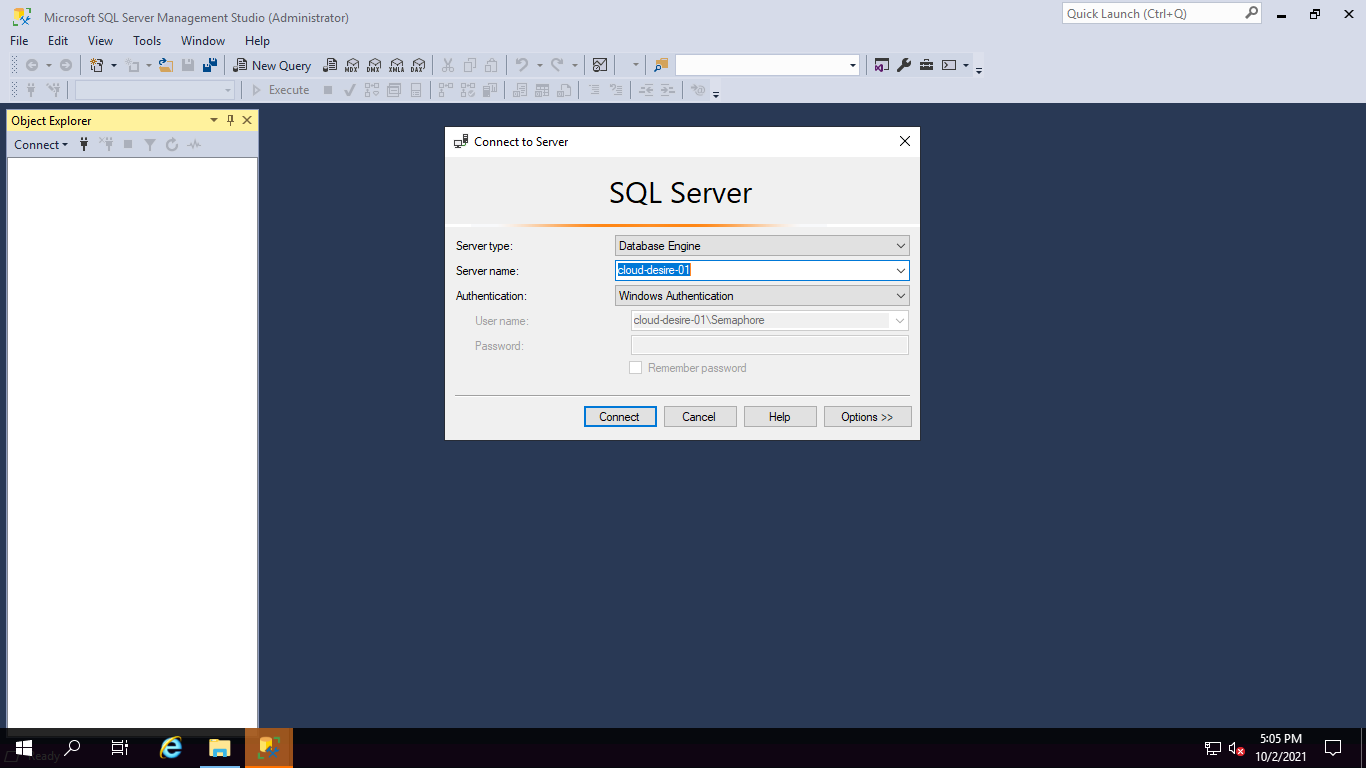
- In the Connect to Server window:
- Server name: Enter your SQL Server instance (e.g.,
localhostor a named instance). - Authentication: Choose either Windows Authentication or SQL Server Authentication (if using SQL auth, enter your credentials).
- Server name: Enter your SQL Server instance (e.g.,
- Click Connect.
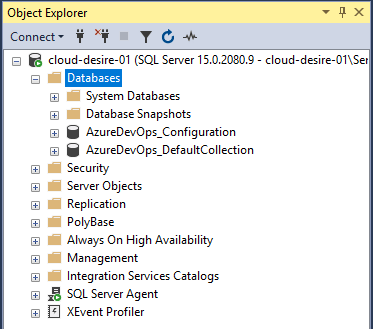
Step 6: Access Your Databases
Once connected, you’ll see Object Explorer, where you can:
- View and manage databases
- Run queries
- Configure SQL Server settings
You have now successfully installed SSMS and connected to your SQL Server instance.