Introduction
This guide provides a detailed walk through for installing Microsoft SQL Server 2019 Developer Edition on a Windows Server 2019 machine. Follow each step carefully to ensure a smooth installation process.
Prerequisites
Before proceeding, ensure your system meets the following requirements:
- Windows machine with at least 2 CPU cores and 4 GB RAM
- SQL Server 2019 Developer Edition installation media (download link provided below)
Step 1: Download SQL Server 2019 Developer Edition
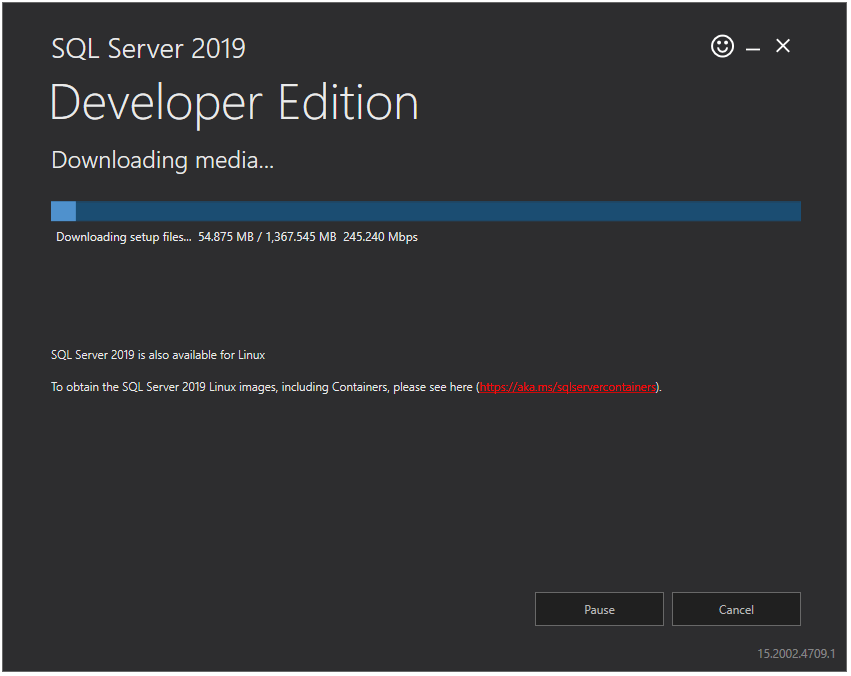
- Visit the official Microsoft SQL Server download page.
- Select “Developer” edition and click Download.
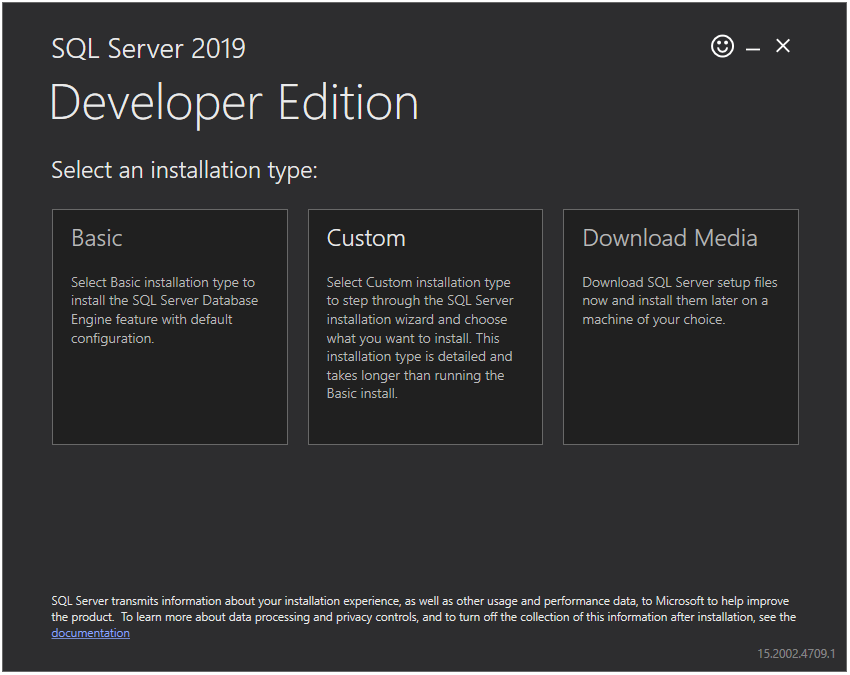
- Choose “Download Media” (ISO file) and select your preferred language.
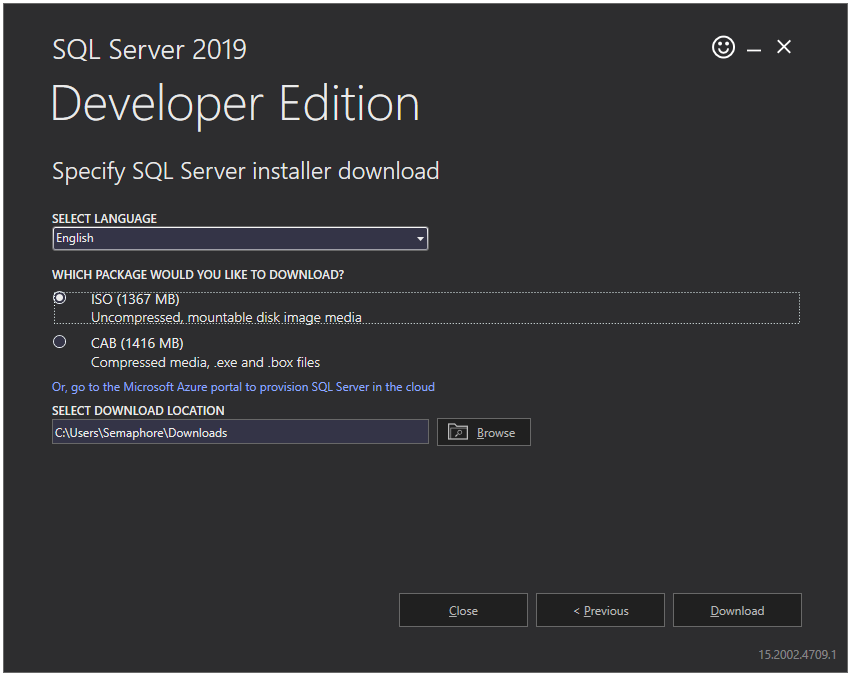
- Specify a download location and click Download.
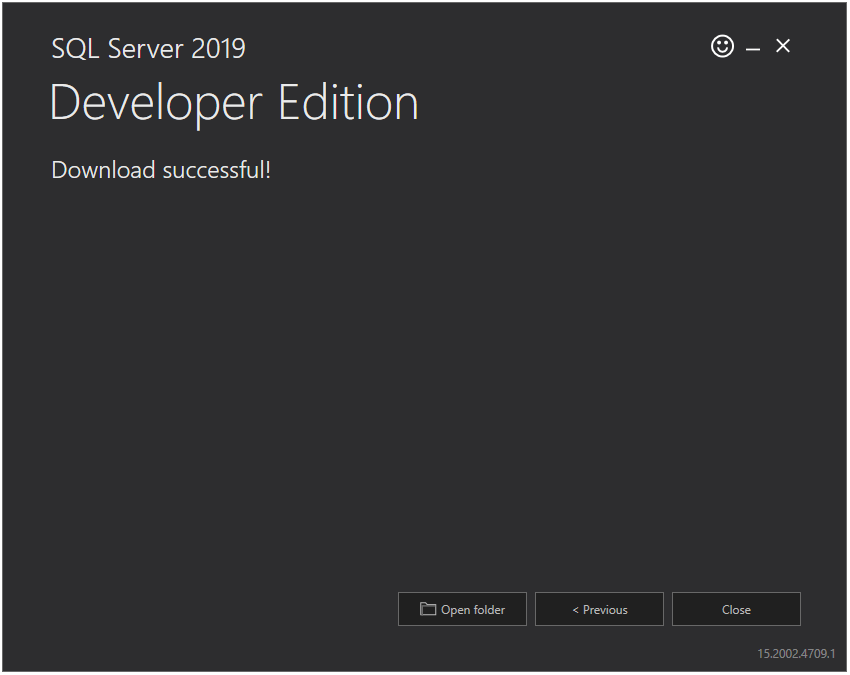
- Once the download completes, click Close.
Step 2: Mount the ISO and Begin Installation
- Double-click the downloaded ISO file to mount it (Windows will create a virtual drive).

- Open the mounted drive and run
setup.exe.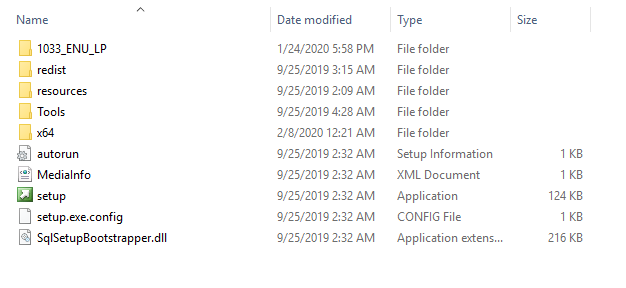
- In the SQL Server Installation Center, select:
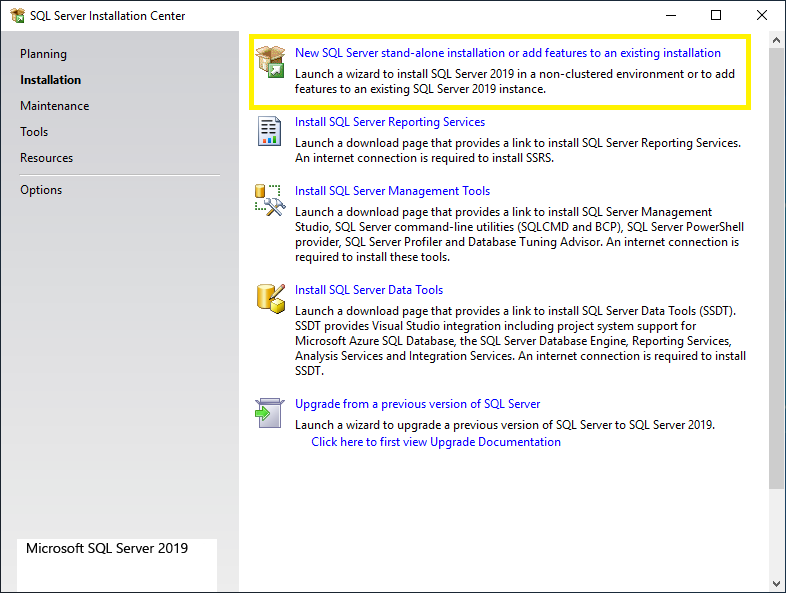
- Installation (left panel)
- “New SQL Server stand-alone installation” (right panel)
Step 3: Configure Installation Settings
- Edition Selection:

- Choose “Developer” from the dropdown and click Next.
- License Terms:
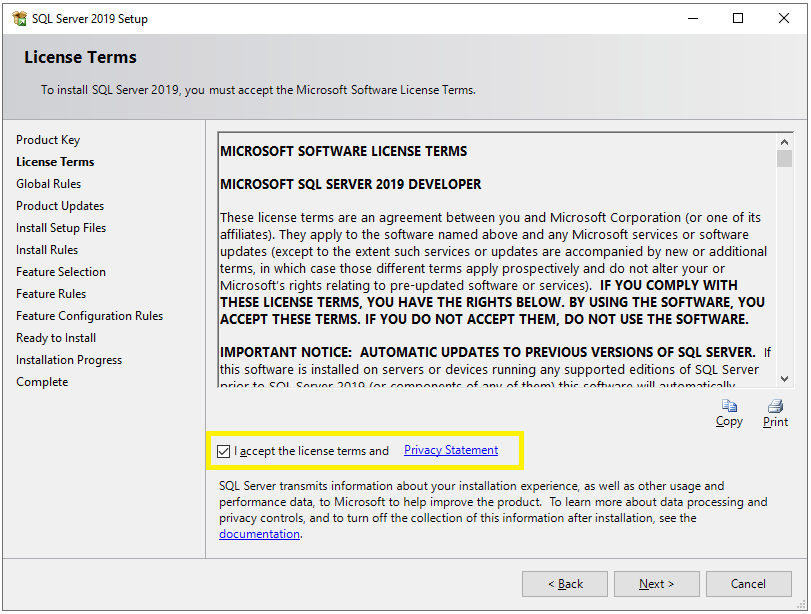
- Accept the terms and click Next.
- Microsoft Update (Optional):
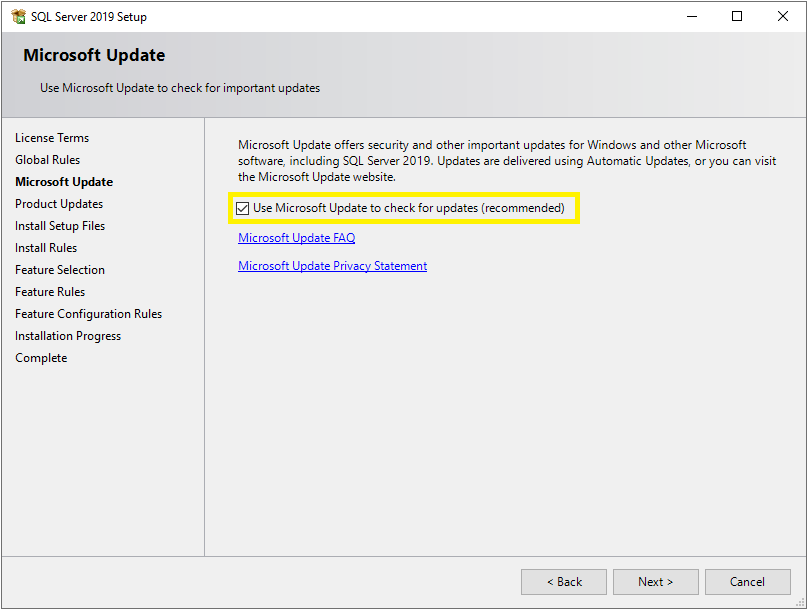
- Enable updates for the latest patches (recommended) and click Next.
- Install Setup Files:
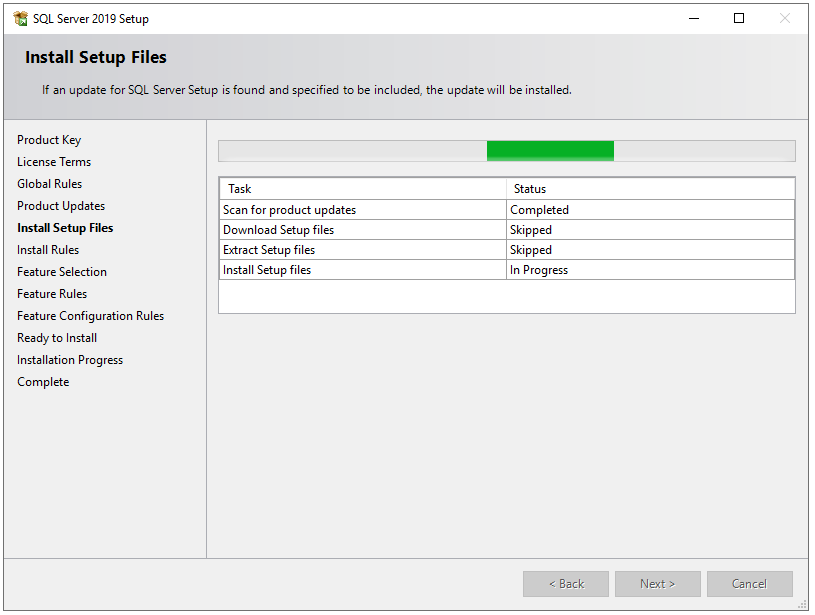
- Wait while SQL Server installs necessary components.
- Installation Rules Check:
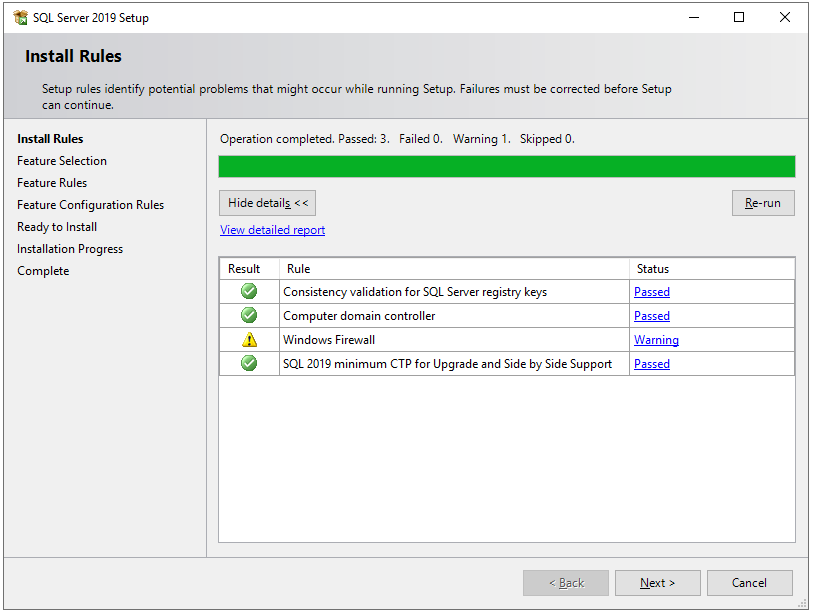
- Ensure all rules pass before proceeding. If any errors appear, resolve them before continuing.
Step 4: Feature Selection
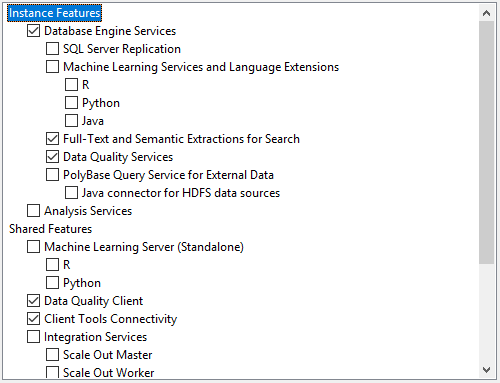
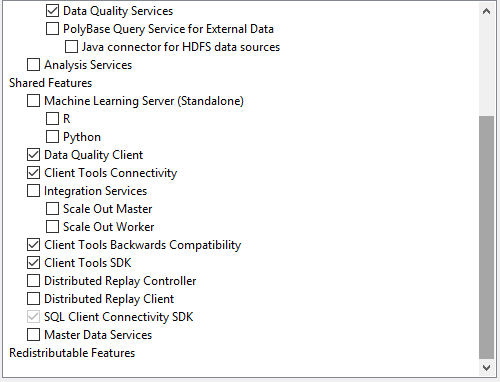
- Select the required features (e.g., Database Engine Services, SQL Server Replication, Full-Text Search).
- Keep the default installation path or modify it if needed.
- Click Next.
Step 5: Instance Configuration
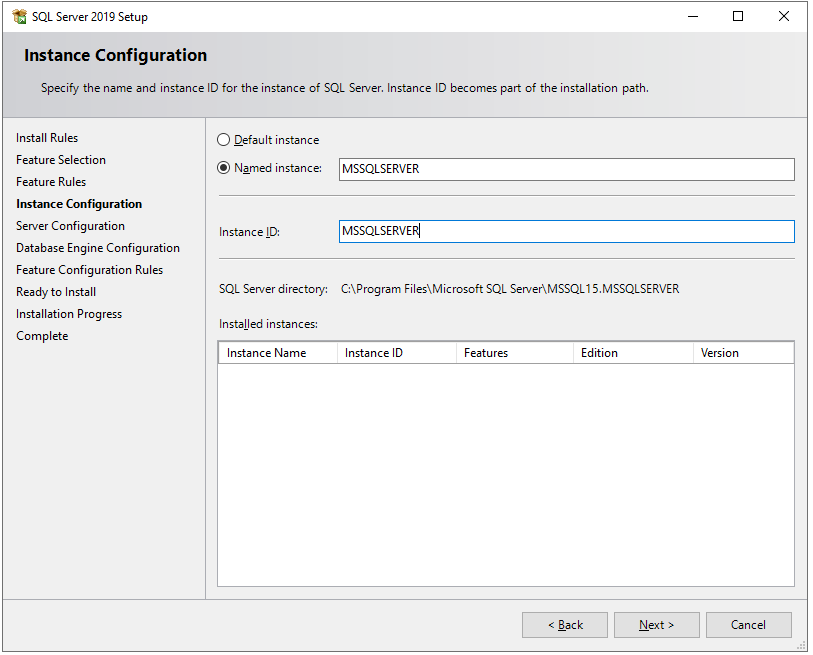
- Default Instance: Installs as
MSSQLSERVER(accessible via server name only). - Named Instance: Specify a custom name (e.g.,
SQL2019DEV). - Choose Named Instance, enter a name, and click Next.
Step 6: Server Configuration
- Service Accounts Tab:
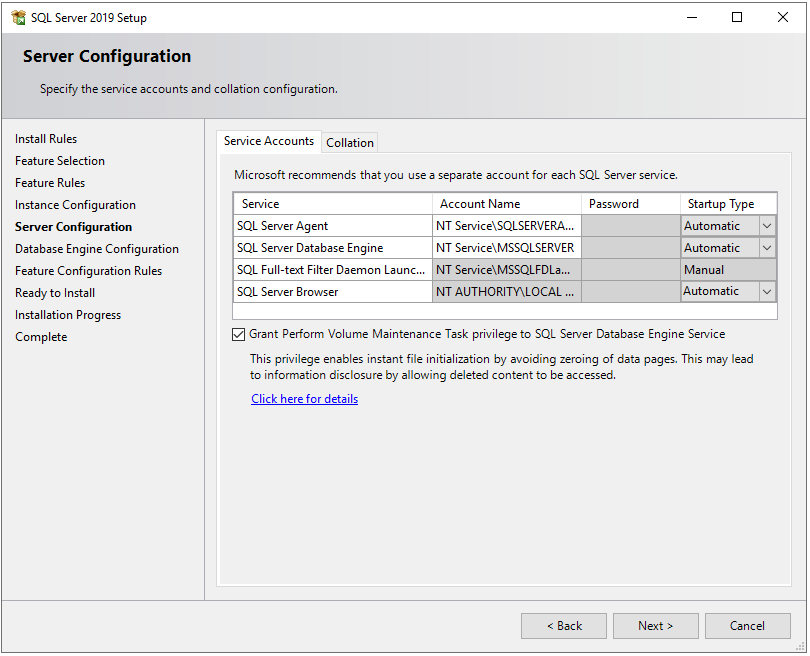
- Set Startup Type to Automatic for:
- SQL Server Database Engine
- SQL Server Agent
- SQL Server Browser
- Set Startup Type to Automatic for:
- Collation Tab:
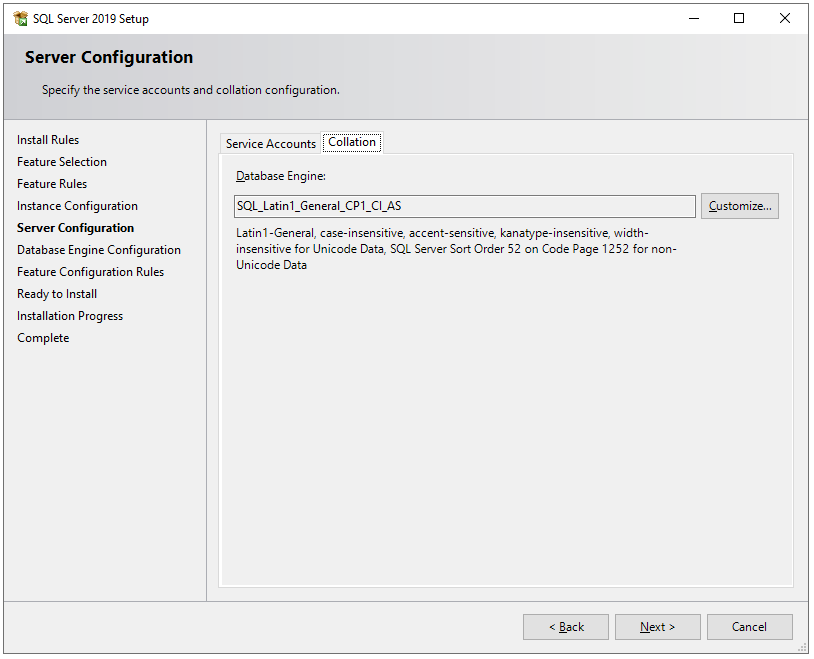
- Keep default collation or customize as needed.
Step 7: Database Engine Configuration
Server Configuration Tab
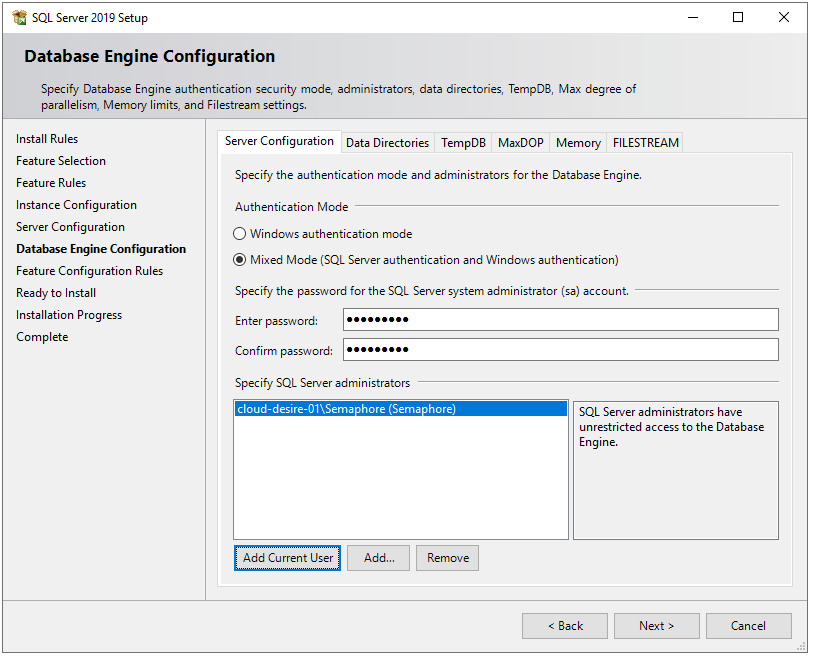
- Authentication Mode:
- Select Mixed Mode (SQL Server and Windows Authentication).
- Set a strong sa (system administrator) password.
- Add Current User as an administrator.
Data Directories Tab
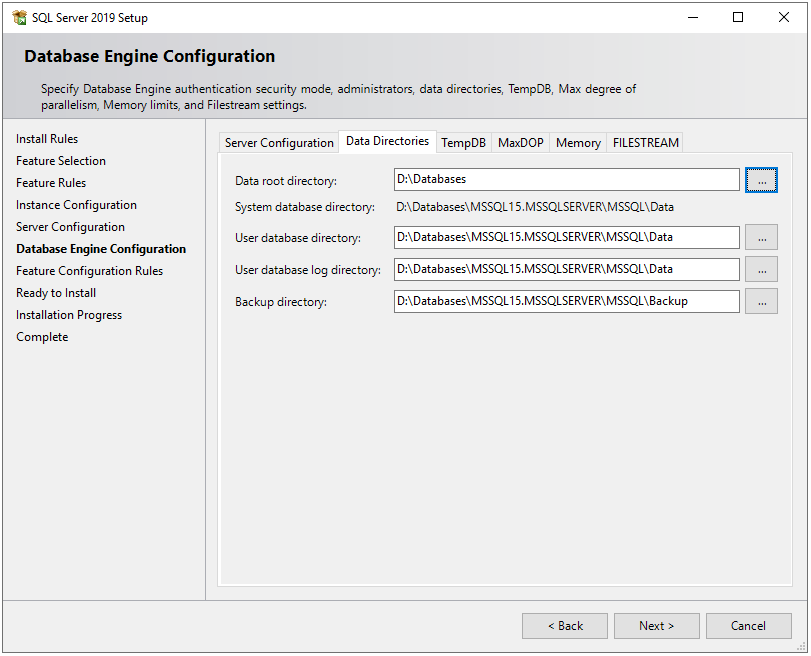
- Change default paths (e.g., store database files on **D:** instead of **C:** for better performance and security).
TempDB Configuration
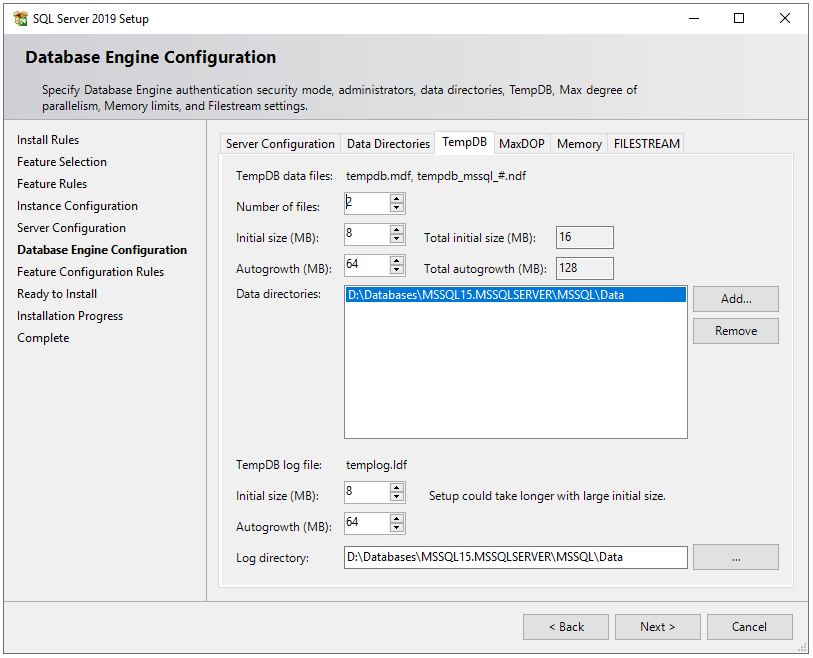
- Set the number of TempDB data files equal to the number of CPU cores.
Memory & MAXDOP Settings
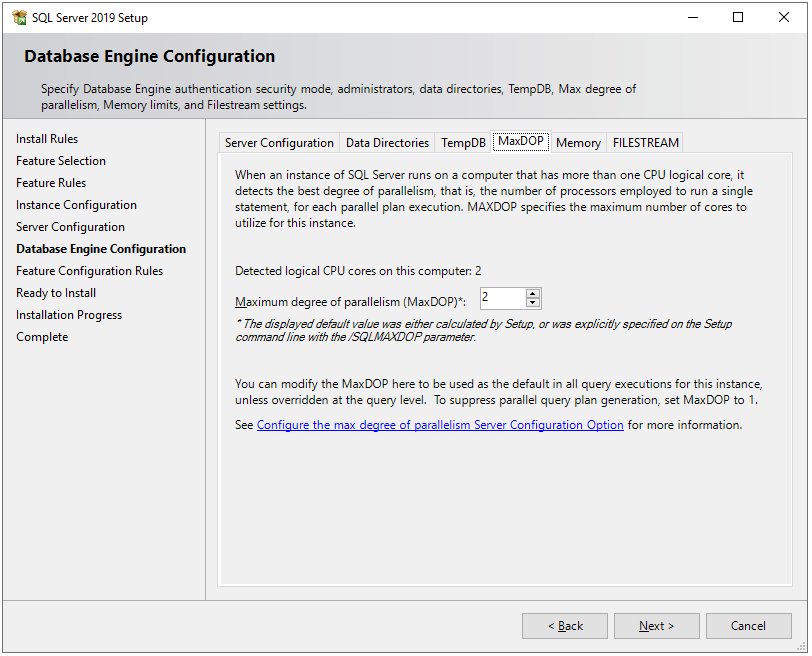
- Configure min/max memory allocation based on system resources.
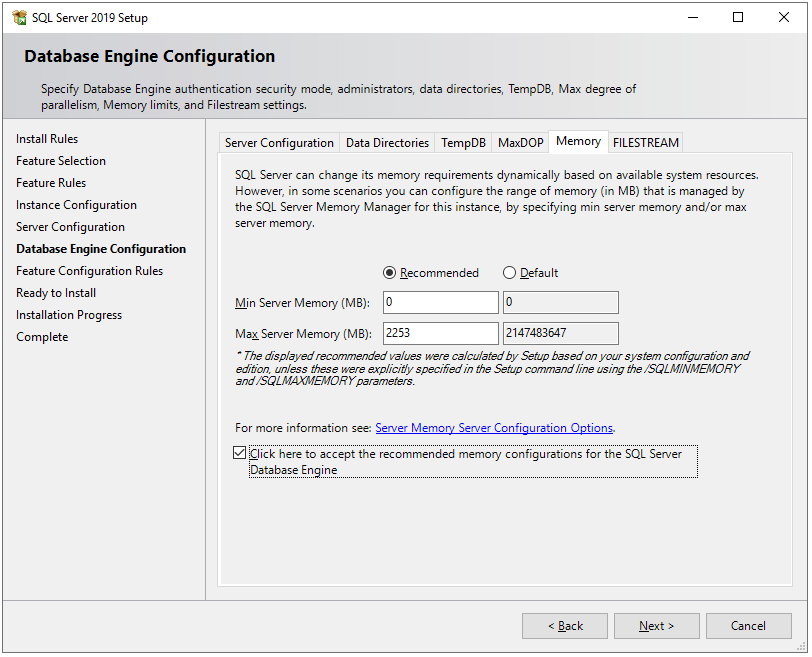
- Set MAXDOP (Maximum Degree of Parallelism) appropriately (default is usually fine).
FILESTREAM (Optional)

- Disable unless needed for file storage integration.
Click Next to proceed.
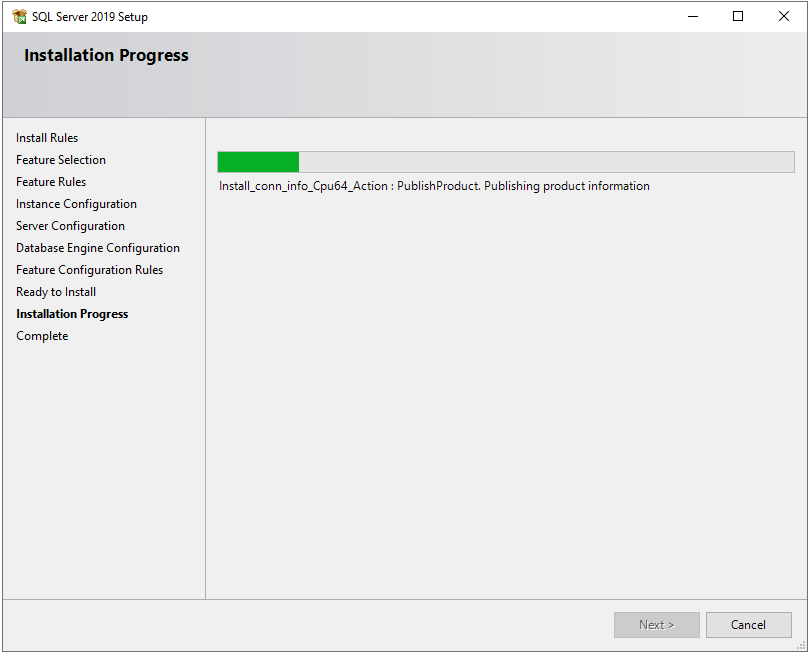
Step 8: Installation & Completion
- Review the summary and click Install.

- Wait for the installation to complete (may take several minutes).
- Once finished, verify all components show “Succeeded”.
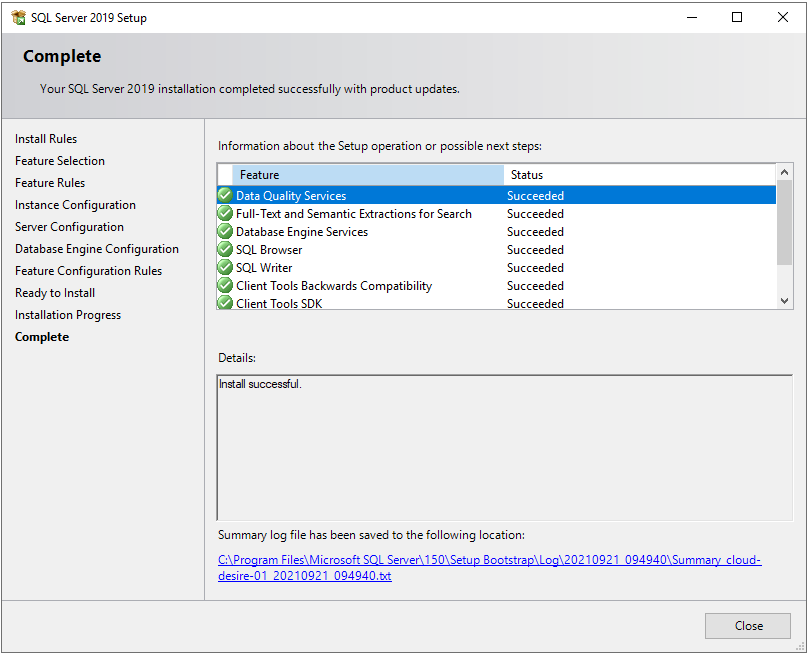
- Click Close.